Location tabs can be used on a tool and / or part for locating & loading a part to a trim fixture, inspection fixture, or for mounting a part within a composite structure for bonding or assembly purposes. Often, these location tabs are sacrificial and an “Add-on” to the existing ply structure of that part. These Locational tabs offer the fabricator a means of locating pertinent aspects of the part to another mating surface or to achieve dimensional stability and a high degree of repeatability in manual or CNC trim operations. In manual trim operations, the location tab in the part will mate to the “trim tool” for an accurate cut to be made. (usually with a ~.030” offset so one doesn’t scuff the trim tool) Locational tabs in the part may also be used in assembly operations as the part’s tab will fix the position into assembly jigs used for adding hardware or other needed additions to an existing component.

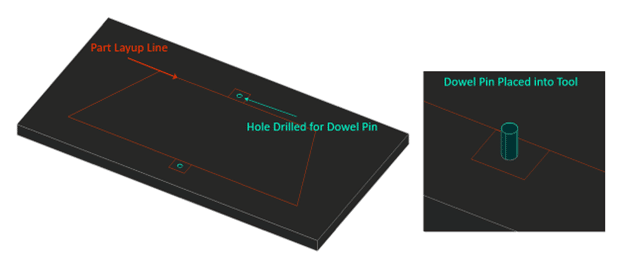
Dowel pins can be added to a layup mold multiple way. For simplicity purposes for most DIY projects, one can simply add a sleeve and a dowl pin into a thicker region of the tool beyond the layup line. Start by drilling a hole for the sleeve to go down into. Drill a hole approximately the same diameter as the outer diameter of the sleeve. Drill into the tool about the same depth as the sleeve. Hammer or Press the sleeve into the mold surface then hammer the dowel pin in using a rubber mallet. Use of a metal hammer would not be advised as the energy is reflected upon the tool when hitting the dowel pin in. It is best practice to place at least (2) sleeves / dowel pins in the tool for the part to be located properly. One locational tab will not work in most cases. BE SURE TO ADD MOLD RELEASE TO THE SLEEVES & DOWEL PINS! A drill stop should be used in the demold / hole drill process so that the drill bit does not go too deep into the tool.
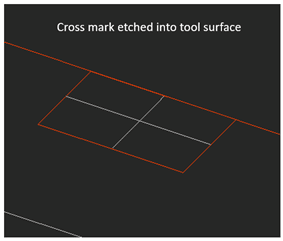
Once the dowel pins are placed. Add fabric layers to surrounding the dowel pin as shown below. Extend the sacrificial plys ~1.00” beyond the dowel pins. Cut a slit into the plys so that the plys lay down onto the tool and provide a means of stripping them off later. Once the part is laid up and cured, simply pop the part off the mold and there will be a hole for locating the parts as needed.


